If there was a foolproof way to learn and analyze all the traffic you got to your website, would you do it? If there was a free resource that could provide you with invaluable insight into your target audience to optimize your content and give you a definitive edge over your competition, would you take it?
If the answer to both these questions is yes, then listen up. Google Analytics exists for just this purpose. It’s the difference between your website generating a couple of hundred dollars a month to raking in more than ten times as much.
If you’re not using it, you’ll likely be spending a large chunk of your time playing catch-up with the competition. Here’s everything you need to know about how to set up Google Analytics for your web properties and maximize your website’s profit-earning potential.
What Is Google Analytics
Google Analytics is a free tool designed to provide valuable insight into the behavior of users once they get to your website. If you’ve been struggling to increase the number of visitors to your site or perhaps understand why most of them never convert into an actual sale, this tool is exactly what you need.

The data it provides is a great indicator of:
- The products and services that are a hit among your visitors
- The type of content your audience loves so that you put out more of it
- Whether or not your marketing efforts are working to achieve your desired goals
- Who your audience is in terms of their age, gender, interests, browsing devices, and geographical location
- Your website’s overall performance
- The webpages you need to optimize to ramp up the conversion rate
Having an online presence goes beyond simply setting up a website and waiting for something magical to happen. You have to put in the work. This involves using the information generated to deliver better results to your visitors. This is what ultimately translates into real revenue.
How to Set up Google Analytics – the Step-By-Step Guide
With that brief overview of what the tool can do for your business, the next phase involves learning how to set it up and start using it. Here’s how.

Step 1: Set up Your Account
If you don’t have an existing Google account, start by creating one. If you already have one, head straight to the Google Analytics login page and sign in to begin.
You’re then required to provide information about your website. This includes the URL, industry category, and more. You also need to configure your Account Data Sharing Settings to control where the data collected can be shared.
Step 2: Add Google Analytics to Website
Next, click on the “Get Tracking ID” button to generate your Google Analytics Tracking ID. A pop-up will appear where you’re required to agree to the terms and conditions associated with using the service.
You’ll then get a code that you’ll have to install on every page of your website. You can do this manually by adding the tracking ID before the tag on each of the web pages or use a plugin like the one from Yoast.
Step 3: Create Your Goals
Once you add the tracking code to your webpages, the next phase involves configuring your Goals. This is a small but very useful feature in your Google Analytics Dashboard for your website’s profile. It will let you know when something important happens in your website based on the key performance indicators (KPI) that you input.

A goal could be in the form of a confirmation page that customers are directed to once they complete a purchase. That way, you get to know the number of conversions you get in a given duration.
Other goals that are relevant to businesses include email list subscriptions, lead form submissions, and even purchase completions. You download the Google Analytics app to allow you to monitor these and other facets of your website on the go.
Step 4: Link It to Google Search Console
Google Search Console is an important tool that allows you to get insight into how search engines view your website. Here a couple of things it does:
- It checks on your site’s search crawl rate
- It identifies all the internal and external links to your website
- It lets you know what keywords you rank for in search engine results pages (SERPs)
- It notifies you when Googlebot analyzes your website
To link to the Search Console:
- Click on the Admin button in the dashboard
- Click on Property Settings
- Scroll down and click on Adjust Search Console then click Add
- Select the Add a Site to the Search Console button at the bottom of the page
- Enter your website’s URL in the field provided
- Click Save to complete the process
Step 5: View the Data
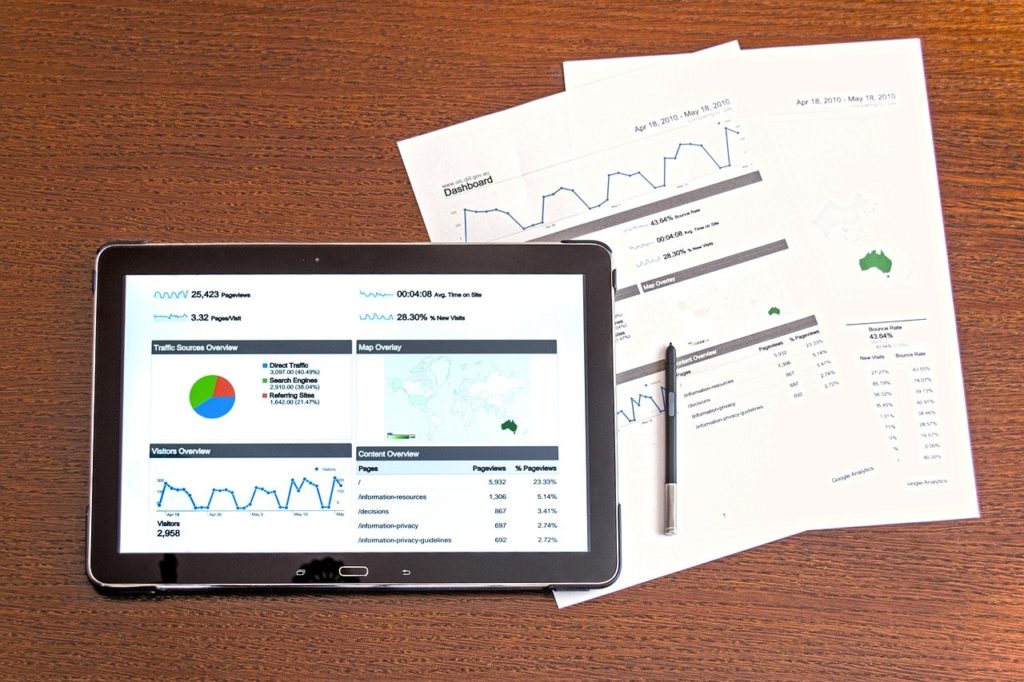
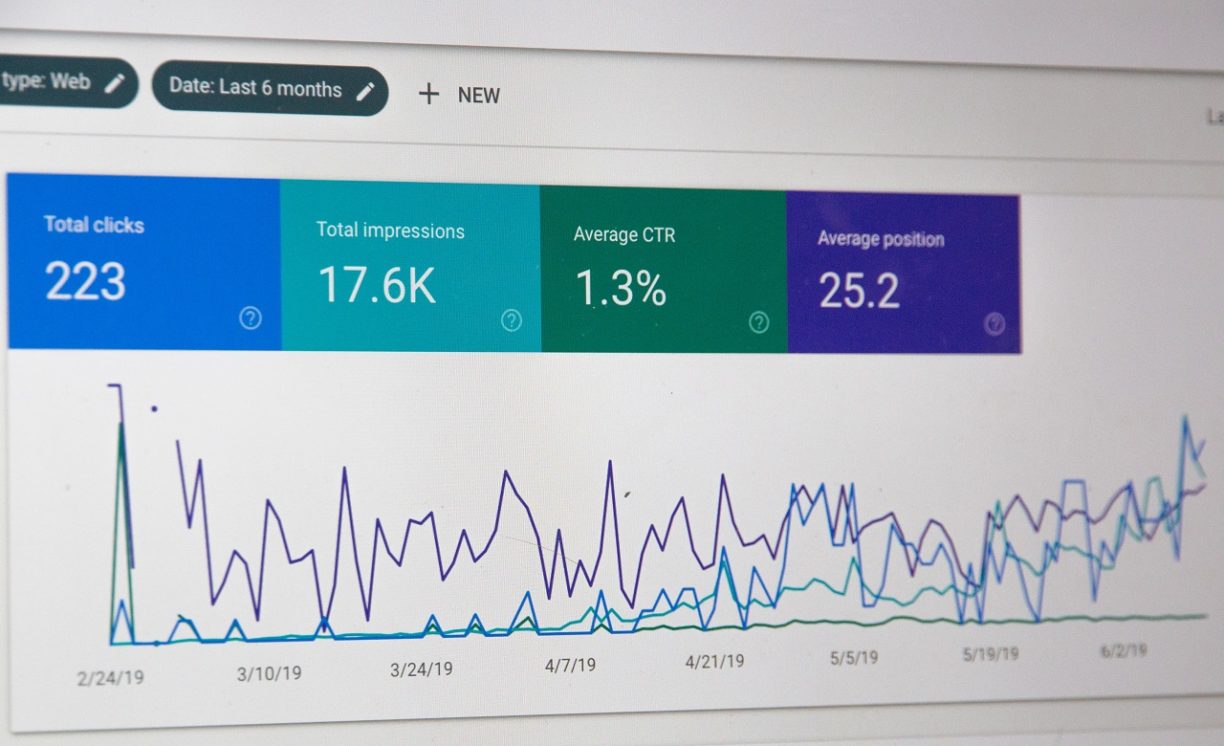
Once data starts trickling in, you can start analyzing your website traffic to learn more about the visitors to your site. Every time you log in to your account, you’ll be directed to view your Audience Overview report, where you’ll get an up-to-date status on your website’s performance.
Sign up for the free Google Analytics Training course at the Google Analytics Academy for professional-level certification. You could also enroll for a beginner’s guide to learn how to use the tool and interpret the data and reports generated.
Stay Ahead of the Game
With so many web analytics software available in the market today, the analytics software from Google remains one of the most useful and effective tools you can use to stay ahead of the competition.
The best part about it is – it’s free. So, you can boost your conversion rates without having to spend a ton of money doing it.
Now that you know how to set up Google Analytics for your web properties, put it to work. You’ll be pleasantly surprised by the results.
If you need a bit of help interpreting what the numbers mean or tweaking your site based on the insight you get, speak to an expert today to put you on the right path to success.

